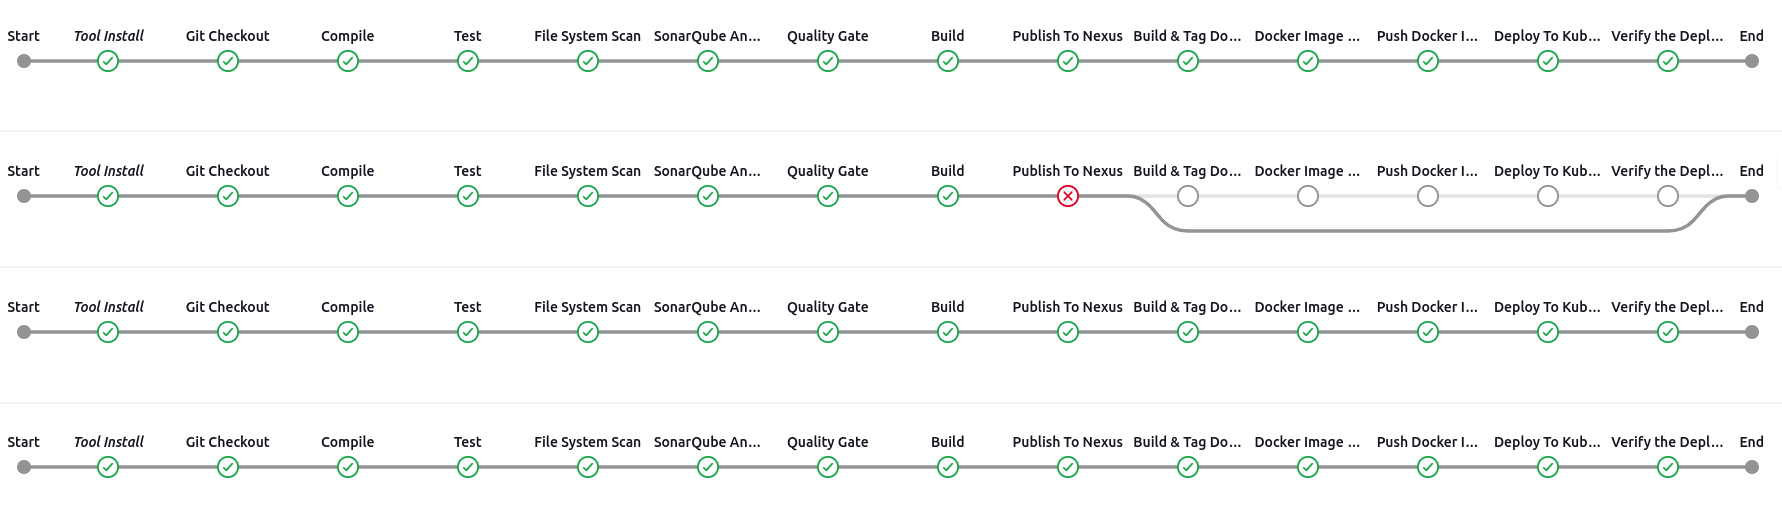
Add the Jenkins repo key
| $ wget -q -O – https://pkg.jenkins.io/debian-stable/jenkins.io.key | sudo apt-key add – |
Add the Debian package repository
| $ sudo sh -c ‘echo deb http://pkg.jenkins.io/debian-stable binary/ > /etc/apt/sources.list.d/jenkins.list’ |
Update the repo with the system
| $ sudo apt update |
If get an issue during the Jenkins repo update run the following command
sudo apt-key adv –keyserver keyserver.ubuntu.com –recv-keys 5BA31D57EF5975CA
Install prerequisites default JRE and JDK
| $ sudo apt install default-jre default-jdk |
Install Jenkins
| $ sudo apt install jenkins |
After successfully done the installation go to the browser and hit the YourServerIP:8080
Then you will get this page copy read the selected path and follow the following procedure
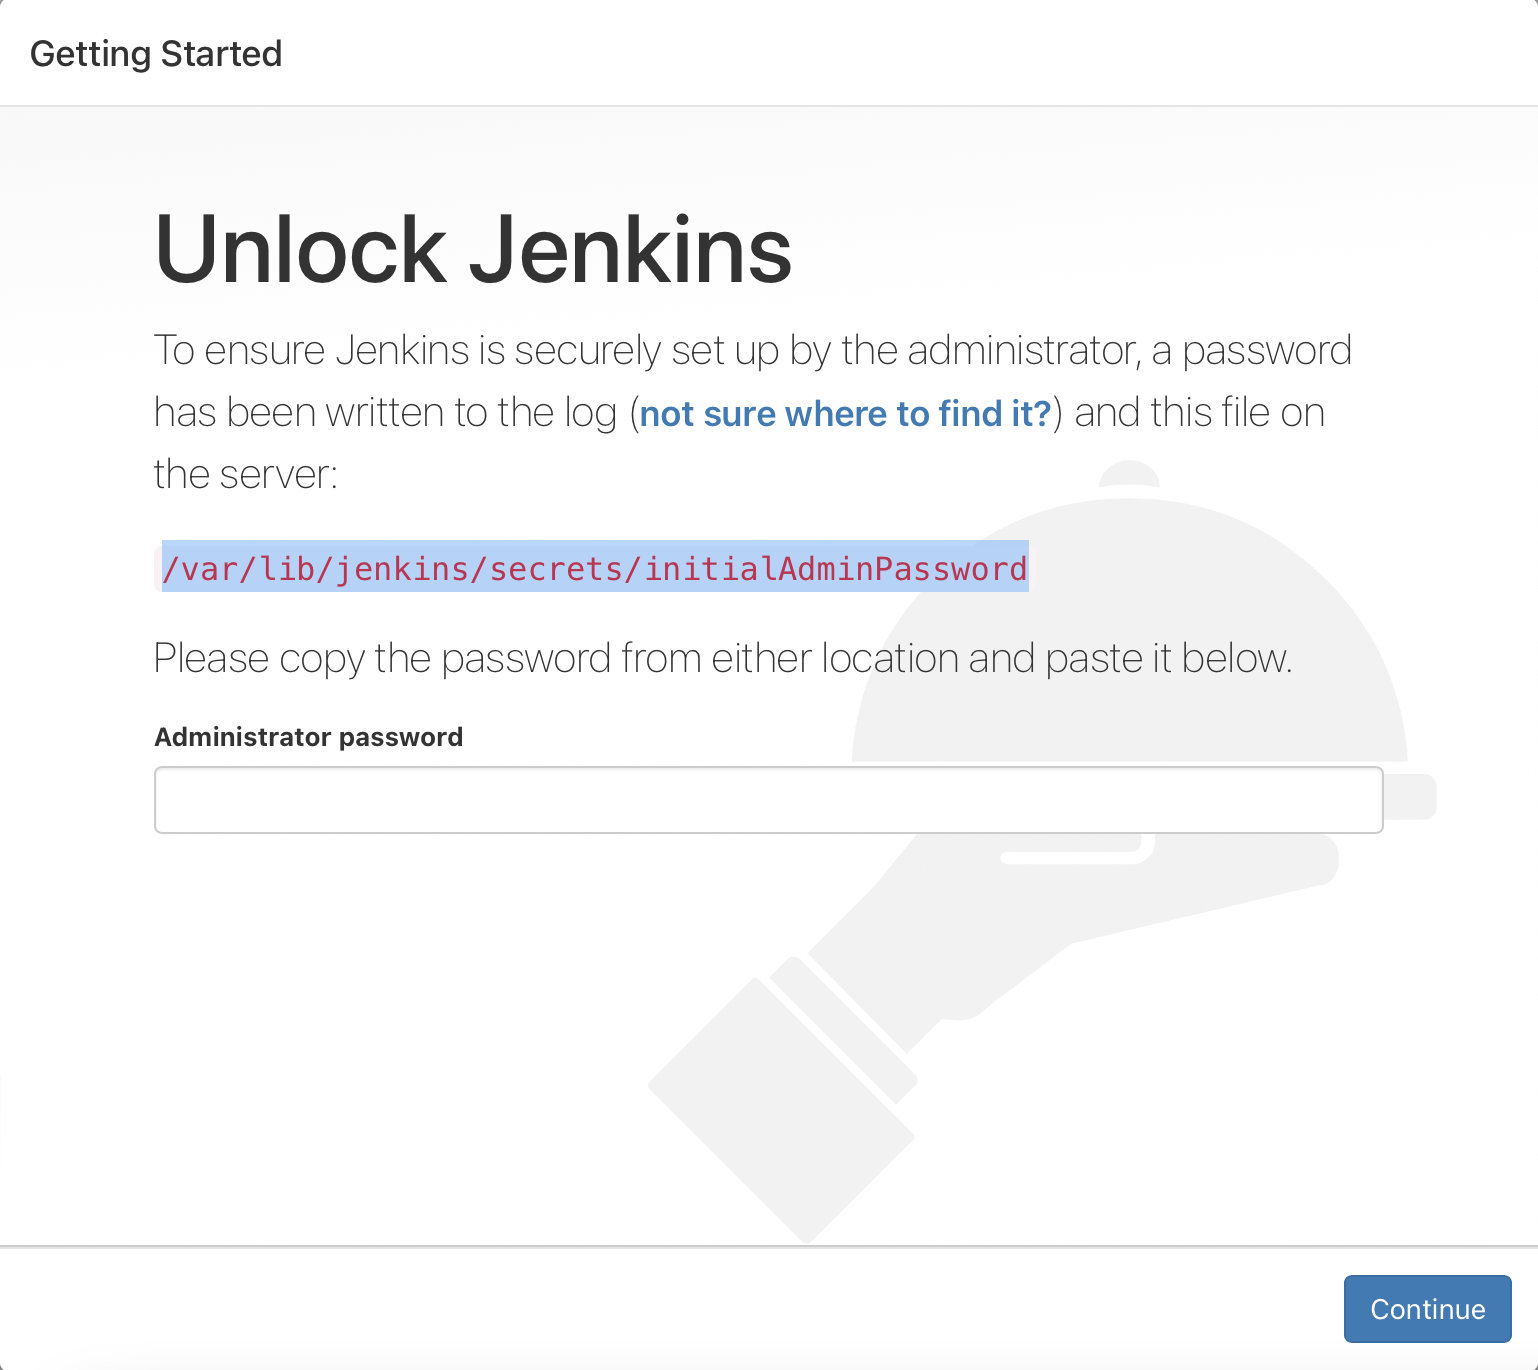
Run the following command to get Admin-Password
| $ sudo cat /var/lib/jenkins/secrets/initialAdminPassword |

Copy the password assign the pass to the browser and click on the continue button.
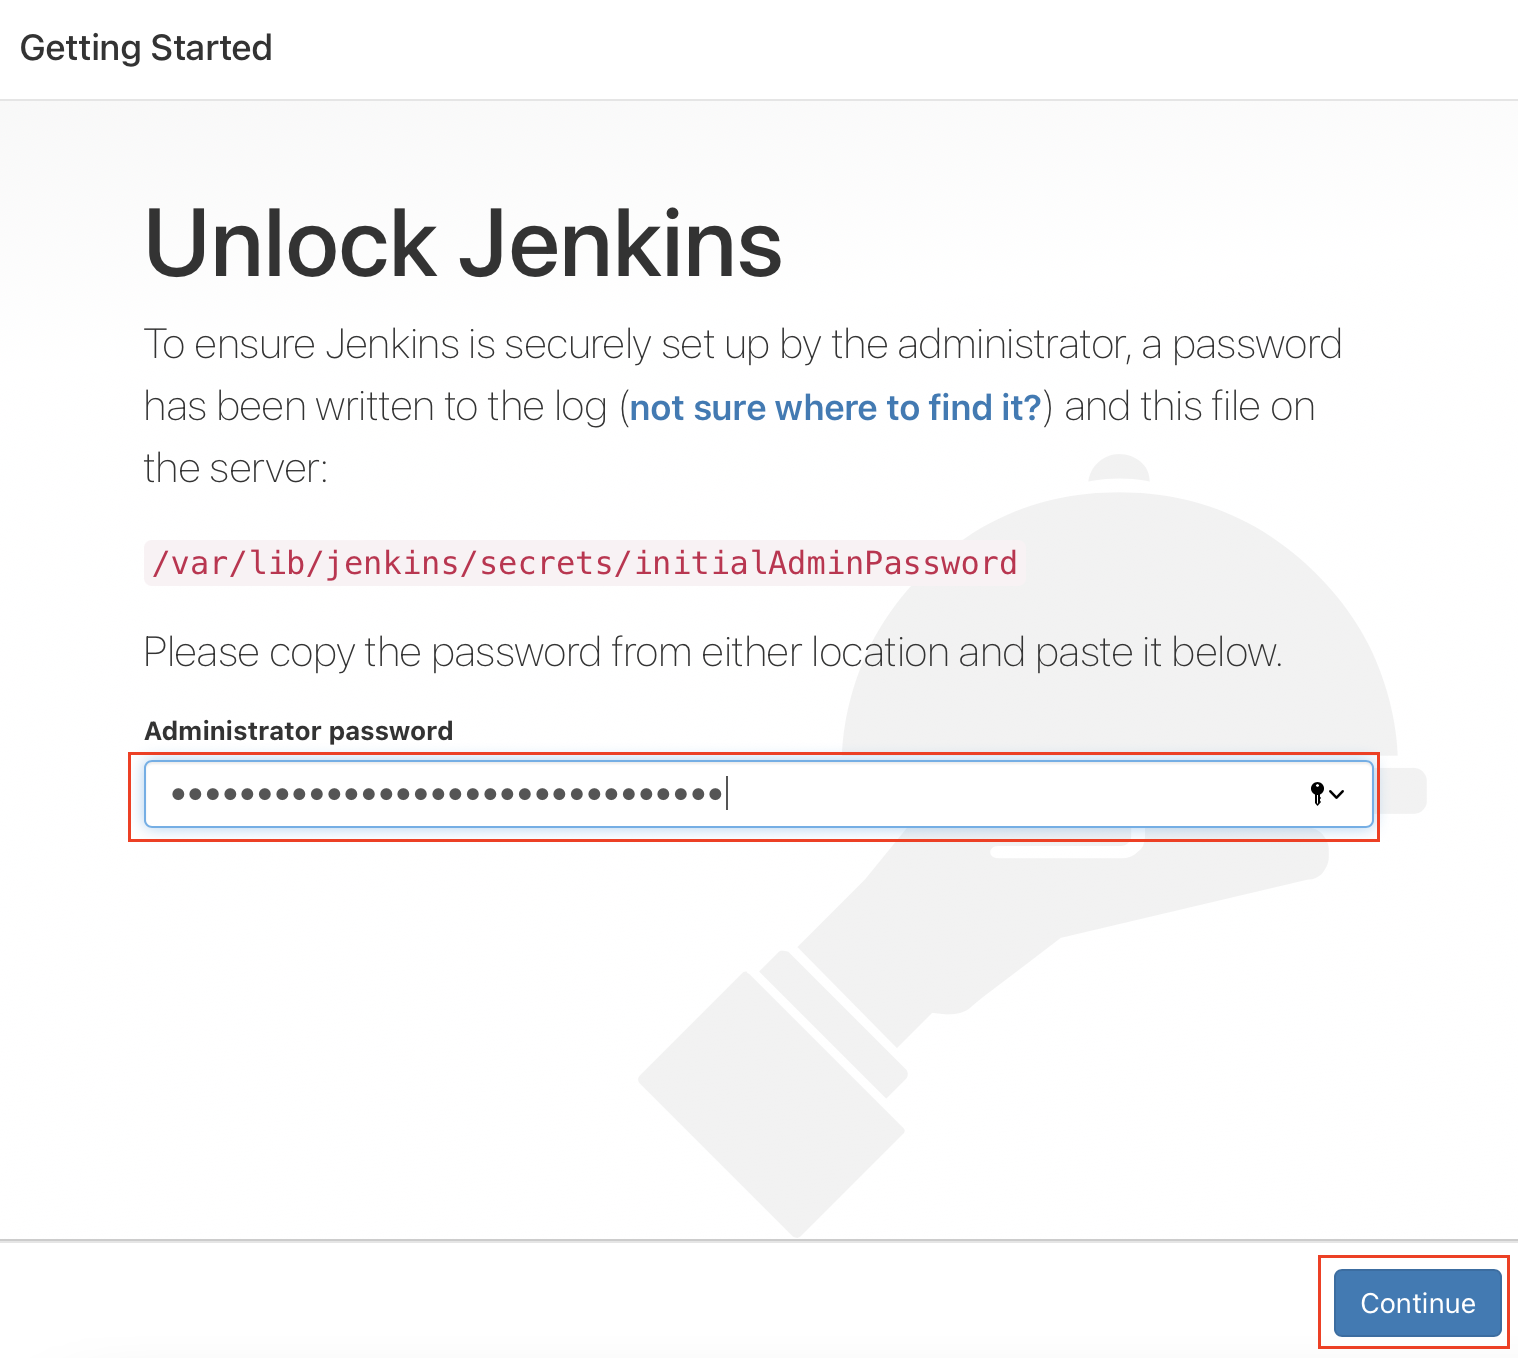
Then we will get the Jenkins Plugins installation front page
What are Jenkin Plugins?
Plugins are the primary means of enhancing the functionality of a Jenkins environment to suit organization- or user-specific needs.
Some Jenkins Plugins
- Easy Installation Feature.
- Docker Plugin for Jenkins.
- Jira Plugin.
- Slack Notification Plugin.
- Maven Plugin.
- Amazon EC2 Plugin.
- JUnit Plugin.
- Pipeline Plugin.
Click on the Install Suggested Plugins to install plugins

After installing the suggested plugins enter the username and all necessary info then click on the Save & Continue Button.
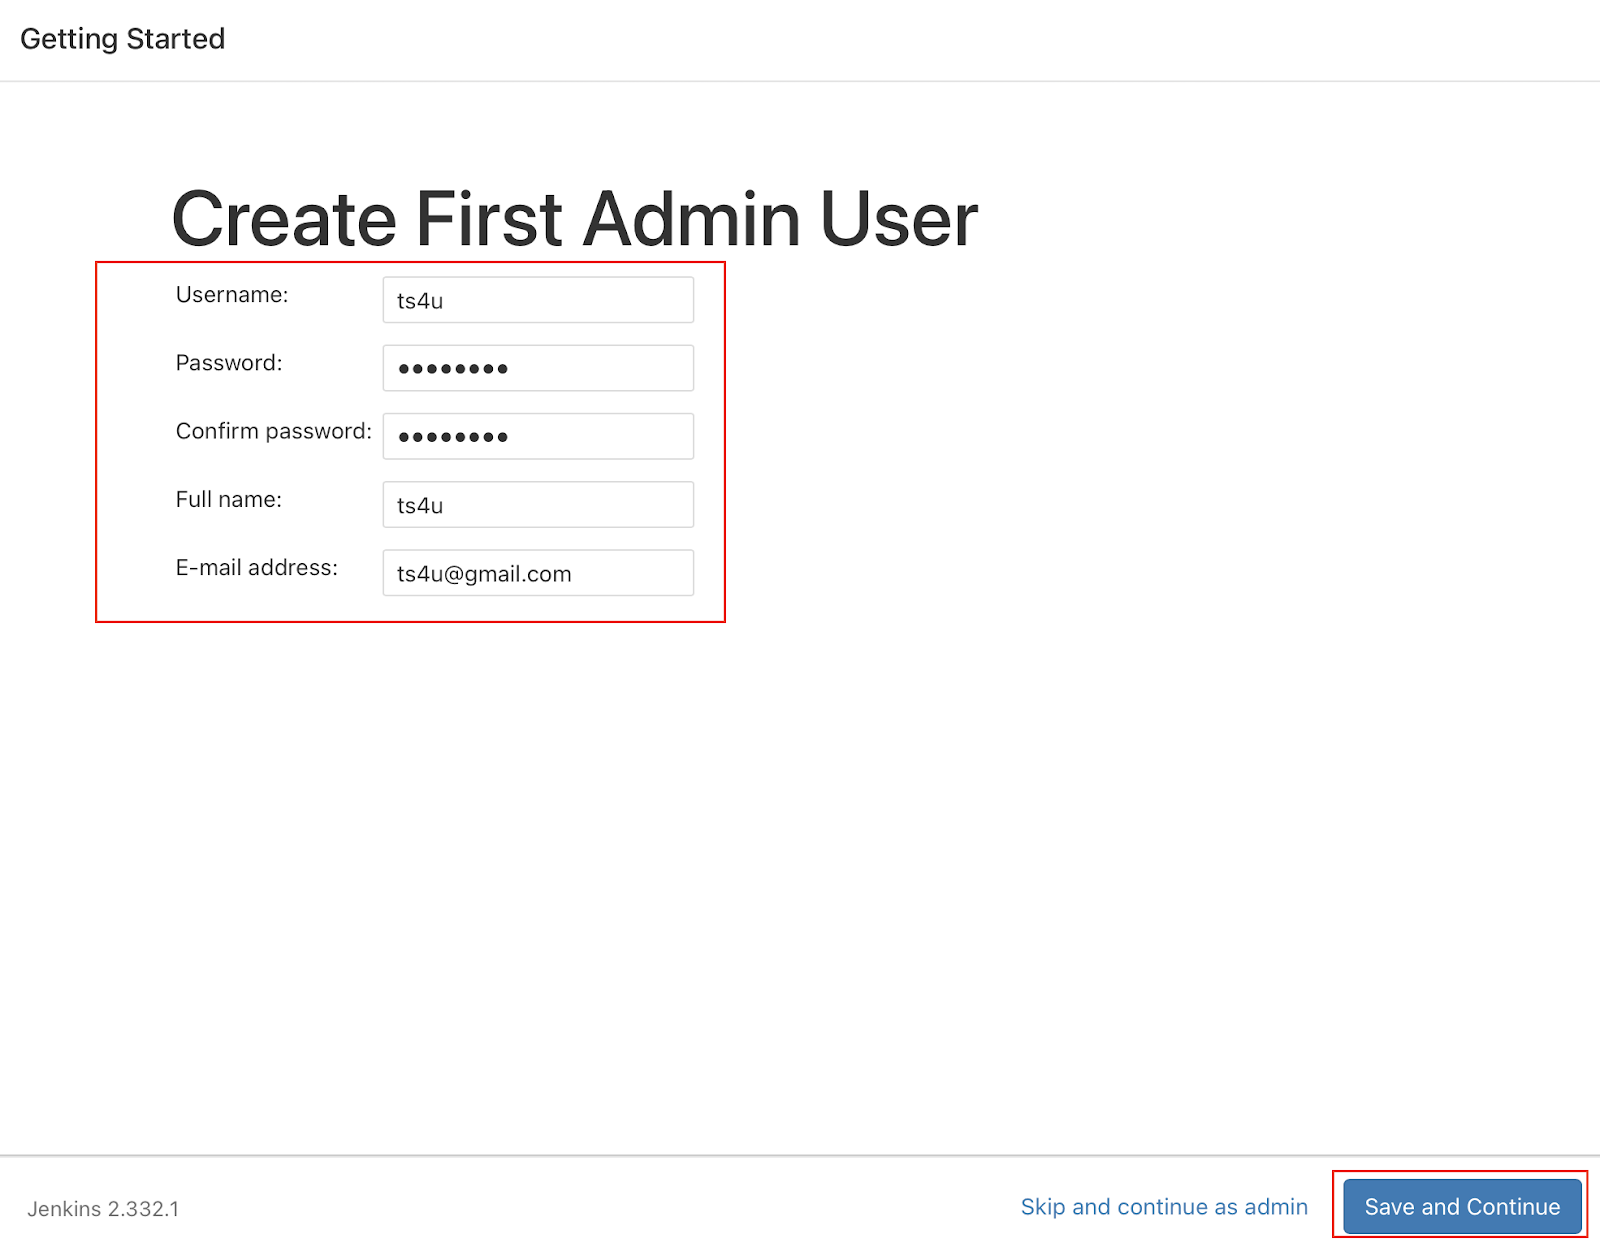
And click start using Jenkins.
Jenkins Installation Done !!